Skateboard Photography in Los Angeles: A Working Guide
Skateboard photography rewards preparation and nerve in equal measure. This guide covers lens choice, flash, LA spots and the etiquette of shooting skaters.
Fisheye or long lens
Every conversation about skateboard photography eventually comes back to the fisheye. A 15mm full-frame or 8mm crop fisheye, held a couple of feet from the skater, exaggerates height, wraps the spot around the trick and puts the viewer right next to the board. It is the defining look of skate imagery for good reason.
The long lens is the counterweight. A 70-200mm from across a plaza flattens perspective, shows the full length of a rail and lets you isolate the skater against a clean wall. Most skate shoots use both: the fisheye for intensity, the telephoto for context and the cover-friendly angle.
Lens choice also depends on the spot. A tight curb or small gap rarely needs a telephoto, while a long handrail or a big drop almost always benefits from a second angle across the street. Scout the spot with both lenses before the skater warms up.
Flash, shutter speed and timing
In daylight, a shutter speed of 1/1000s or faster freezes most tricks without flash. Once you add strobes you are limited to your sync speed, so plan your exposure around it: underexpose the sky by a stop, light the skater with one or two off-camera flashes and let the frame pop.
Timing matters more than frames per second. Watch the skater on a few run-throughs, learn the rhythm of the approach and press at the peak. Many skaters will tell you exactly where the trick tops out if you ask.
For flash, a pair of speedlights on light stands with radio triggers is the usual starting point. Put one near the takeoff and one aimed at the landing, both slightly behind the skater, to rim-light the figure and the board. Bag the stands with sandbags; skaters and boards will hit them.
The fisheye puts you in the trick; the long lens explains where it happened. Most good skate shoots need both.
Sequences and video
Sequence shots, built from a burst on a locked-off camera and composited, remain one of the most useful frames in skateboard photography. Use a tripod or very steady stance, fixed exposure and manual focus so every frame lines up.
Many shoots now also capture short clips. If a filmer is on site, agree on positions so you are not in each other’s frame, and let the filmer take priority on the line while you work the angles off the main path.
Start with a test burst before the skater commits so you know the frame rate, buffer and card can keep up. Running out of buffer just as the trick lands is a mistake most people only make once.
Spots in LA
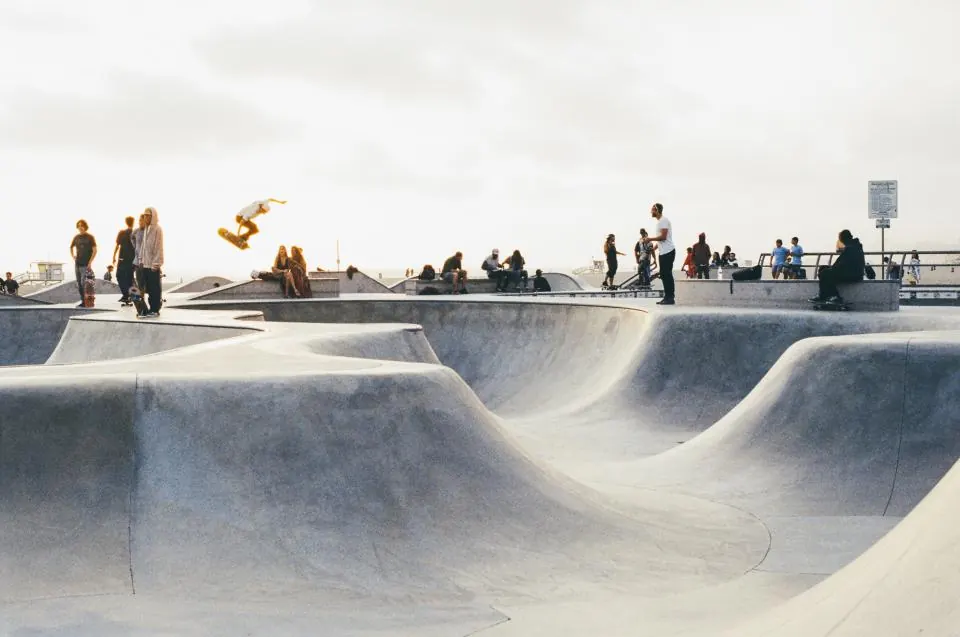
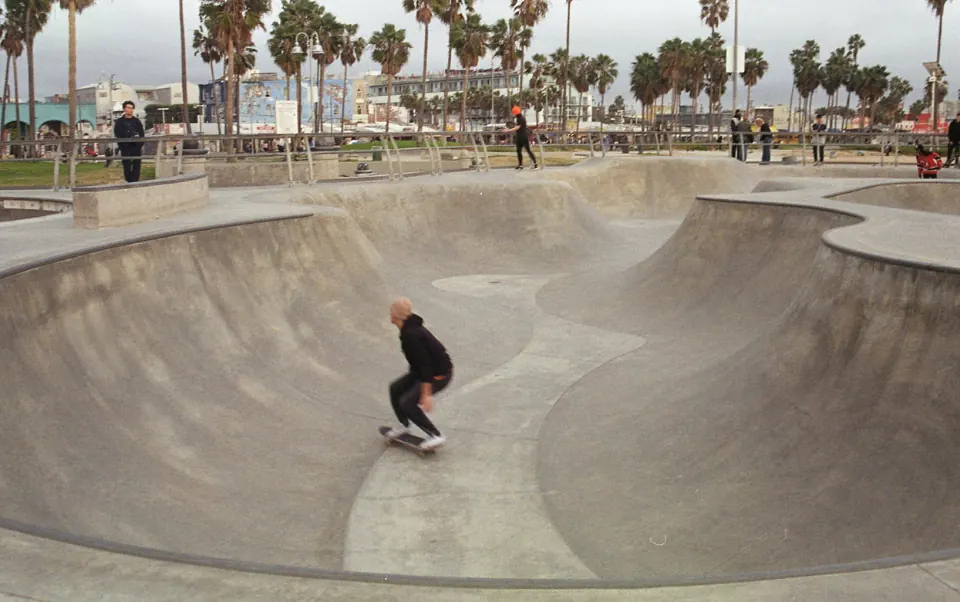
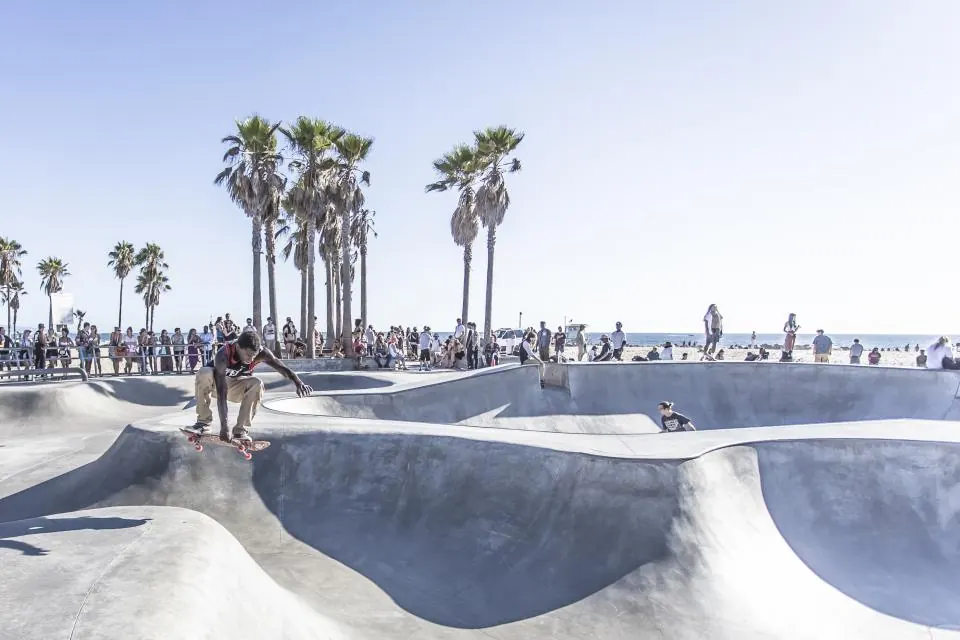
Los Angeles has spots for every style. Venice Skatepark has bowls with ocean behind them. The LA River has long, smooth banks. Downtown, the plazas and ledges around Broadway and the Arts District give hard-edged architecture, while Silver Lake and Echo Park have curbs, hills and small gaps that suit street skating.
Respect the spot. Skateparks are shared spaces, and some street spots exist only as long as nobody draws attention to them. Avoid blocking runs with light stands, and leave locations cleaner than you found them.
Time of day changes spots completely. The LA River banks are bright and flat at noon but glow at sunset; Downtown ledges sit in deep shade by midafternoon. Check a sun-path app before you commit and arrive early enough to warm up the skater and the lights.
Working with skaters
Skaters are athletes doing something dangerous on hard ground. Ask what they want to skate, agree on your position before they drop in, and never ask for one more try when they are hurting. Share a few frames on the back of the camera; it builds trust and often motivates a cleaner landing.
Above all, shoot what is real. Skateboard photography is valued because it documents tricks that actually happened, and skaters and readers can tell the difference.