The Nas Bevel Brief: Lighting Grooming Portraits for Deep Skin
Celebrity grooming campaigns live or die on skin, texture and a clean shave line. Here is how photographers approach a Nas Bevel-type portrait without flattening the face.
What a grooming portrait actually has to show
A Nas Bevel-style shoot sits in an odd space: part celebrity portrait, part product proof. Bevel built its name on shaving tools for men with coarse and curly hair, so the pictures in that category have to show a real face, a real beard line and skin that looks healthy rather than airbrushed. The talent sells attention; the skin sells the product.
That means the brief usually asks for three things at once. A confident, quiet portrait that reads at a glance. A close-up where texture is visible, from the edge of a beard to the jaw after a shave. And a tabletop or hand shot where the tool itself is clear. Planning all three into one short session is most of the job.
Celebrity time is short, often 20 to 40 minutes. Everything that can be solved before the talent arrives, from light to wardrobe to grooming, should be solved with a stand-in of similar complexion.
Lighting deep skin tones without losing them
The common failure with darker complexions is underexposure plus flat fill, which turns skin gray and loses the shape of the face. Expose for the skin, not the background, and let the background fall where it falls. A medium or large octabox slightly above eye line, feathered so the edge of the light does the work, gives a rich gradient across the cheek.
Specular highlights matter. Deep skin reflects beautifully, and a controlled sheen on the forehead and cheekbone gives dimension. Too much and it reads as sweat. A grid on a small strip light behind and to one side adds a thin rim along the jaw, which helps separate a dark beard from a dark backdrop.
Warm versus cool is a real decision. A slightly warm white balance, around 5200K to 5500K with a neutral gray card in the first frame, keeps undertones from going ashy. Shoot a color checker at the start of every setup so the retoucher has a reference instead of a guess.
Expose for the skin, not the backdrop, and let the background fall wherever it wants.
Macro texture and the shave line
The close-up is where grooming work earns its keep. A 100mm macro at f/8 to f/11, with a small strobe through a diffusion panel, shows hair follicles and the edge of a lineup without turning pores into craters. Raking light from a low angle exaggerates texture; use it a little, not a lot.
Work with the barber or groomer on set. They know when a line is crisp and when it needs one more pass, and they can tell you which side of the face holds a cleaner edge. Shoot the beard before and after if the brief allows, using a tripod and the same light so the comparison is honest.
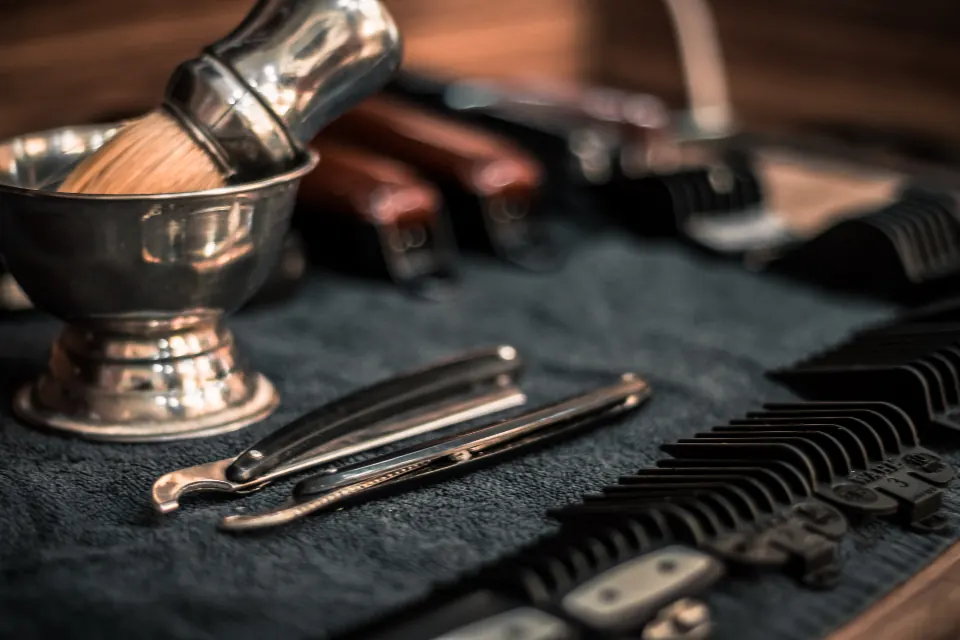
Product in hand is its own small setup. Wipe the razor, angle it so the brand mark is legible without dominating, and keep the hand relaxed. Tension in the knuckles shows up in every frame. Shoot a clean plate of the hand without product too, in case the packaging changes before launch.
Retouching with restraint
Grooming work invites over-retouching, and it backfires. If the skin looks like plastic, the claim that the product is gentle on skin falls apart. Remove temporary blemishes and stray hairs, even out color shifts from razor irritation if the client asks, and leave texture alone.
Check the edit on a calibrated monitor and on a phone. A Nas Bevel-type image will mostly be seen on small screens, where shadow detail in deep skin is the first thing to disappear. Lift the darkest quarter-tones slightly for the social crops rather than brightening the whole file.
Finally, deliver a short note with the files: white balance reference, which frames had product cleared on set and which crops suit vertical placements. It saves a round of emails and keeps the skin consistent across every placement.